I have just finished sewing the shoulders and the collar of the Rochester’s shirt, so let’s continue by talking about making the collar.
The shoulder seams can be done in 2 ways – with a rectangular insert on each shoulder and two gussets on each side of the insert or with just a normal reinforced shoulder seam with one gusset near the collar. I chose the second way as it seems more appropriate on a doll scale.
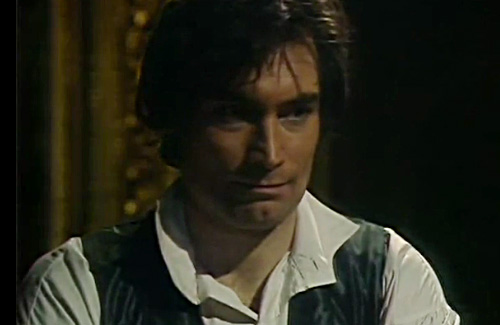
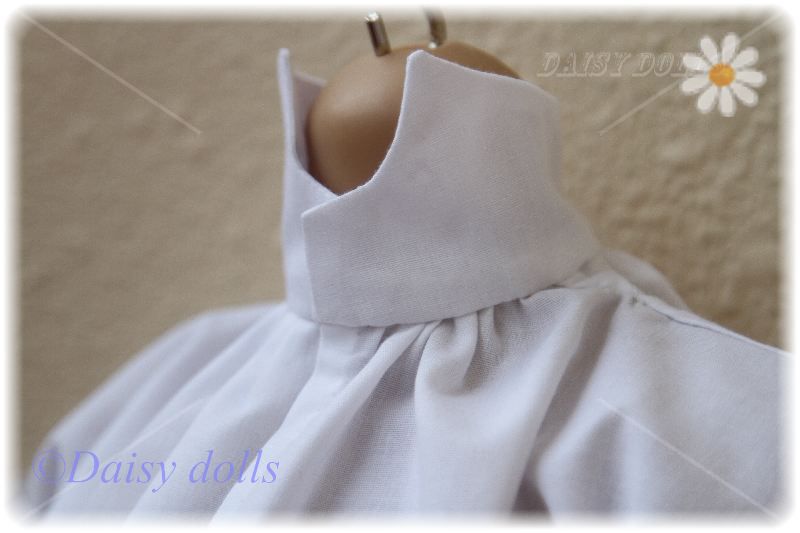
The front and the back of the shirt are identical rectangles. The gussets are small squares. The collars of the shirts from the first half of the 19th century were usually cut as a rectangle, too. However, on a doll scale that proved difficult as with a straight collar the doll’s wig would start falling off (and also, in the film that is my inspiration, the collar is not quite straight either).
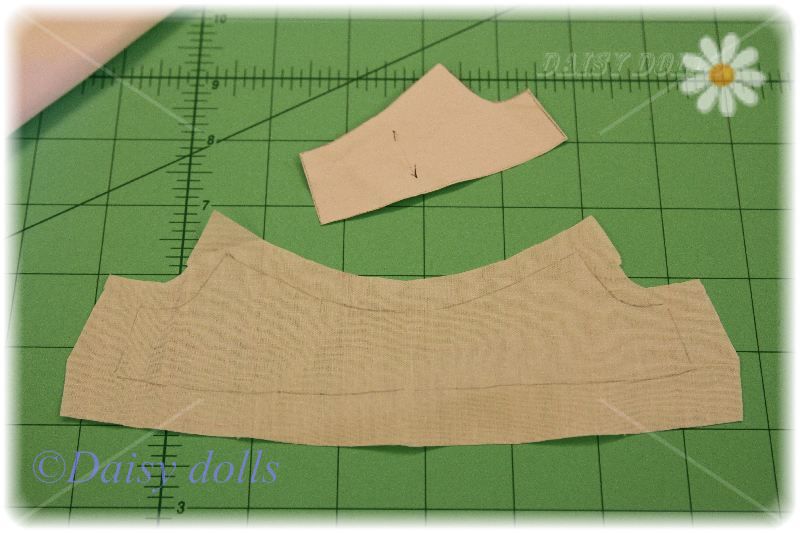
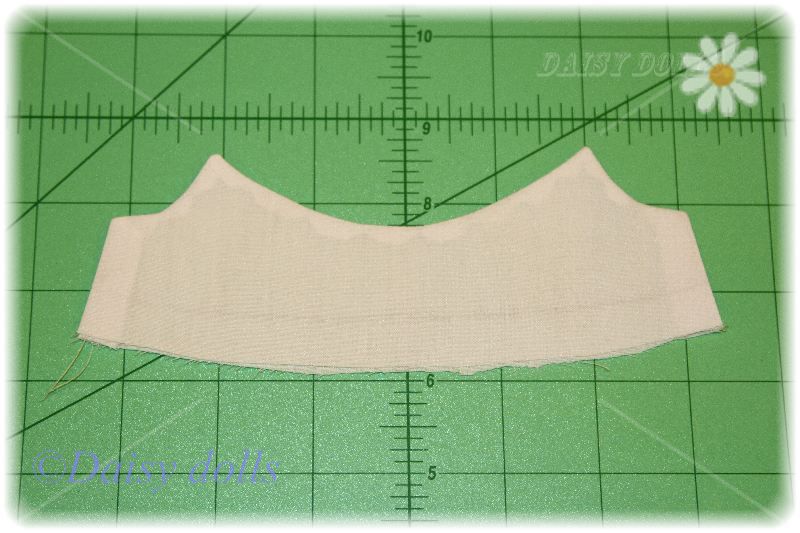
So, I cut the collar like this:
Sewing it was quite straightforward and I actually used a sewing machine for it.
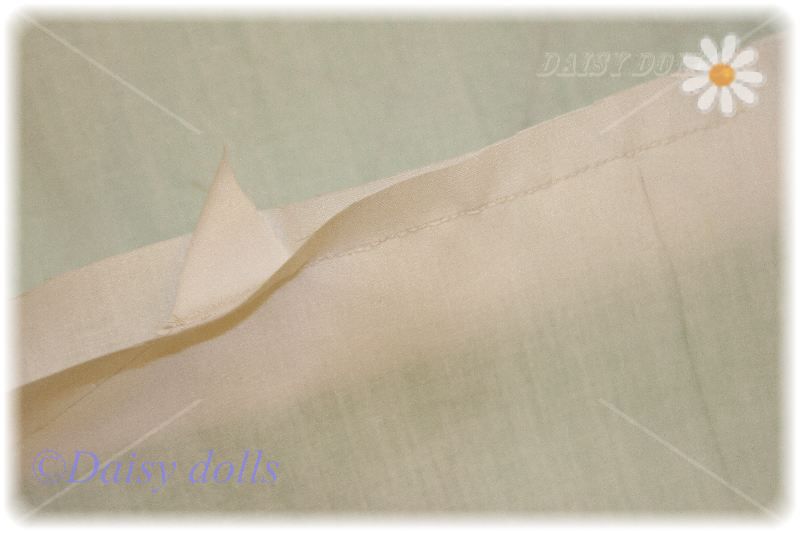
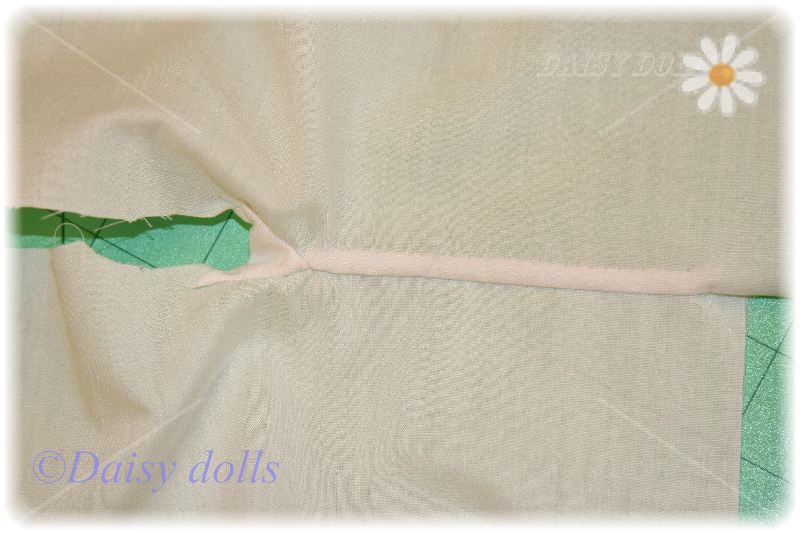
Then it was time to do the shoulder seams. I sewed them from outer edges towards the collar. I had marked the place where the gussets should start. So, once I reached it I sewed one side of the folded gusset to one side and the other one to the other.
Then I closed the raw edges of the seams in the usual way.
When both shoulder seams were ready, I cut the front opening and closed the raw ages in a traditional way. I made one of the seams a bit wider to accommodate buttons, though many shirts were made without buttons in those day. I gathered the excess of the fabric where the cut ended.
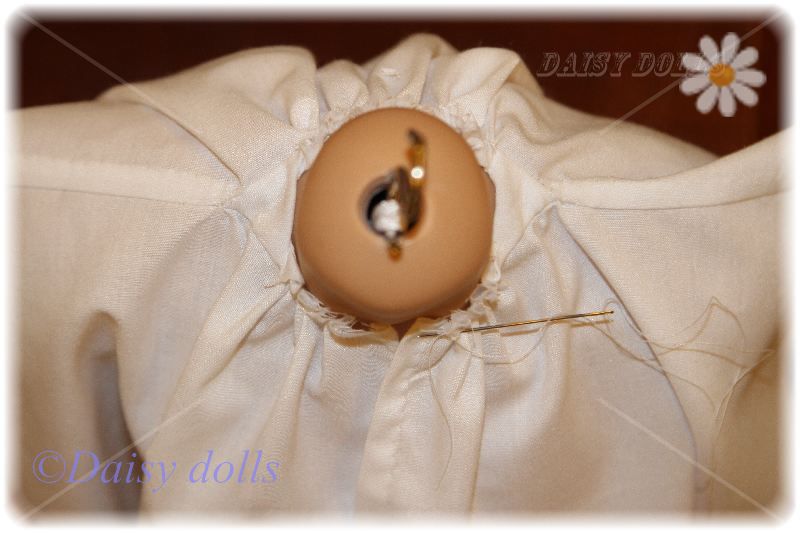
Next, I put the shirt on the doll and using a needle with a thread gathered the fabric to fit the neck and to match exactly the length on the collar.
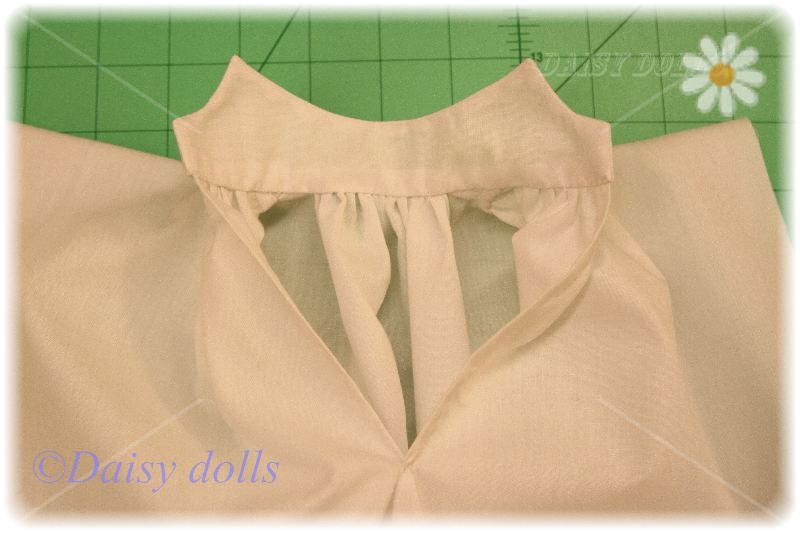
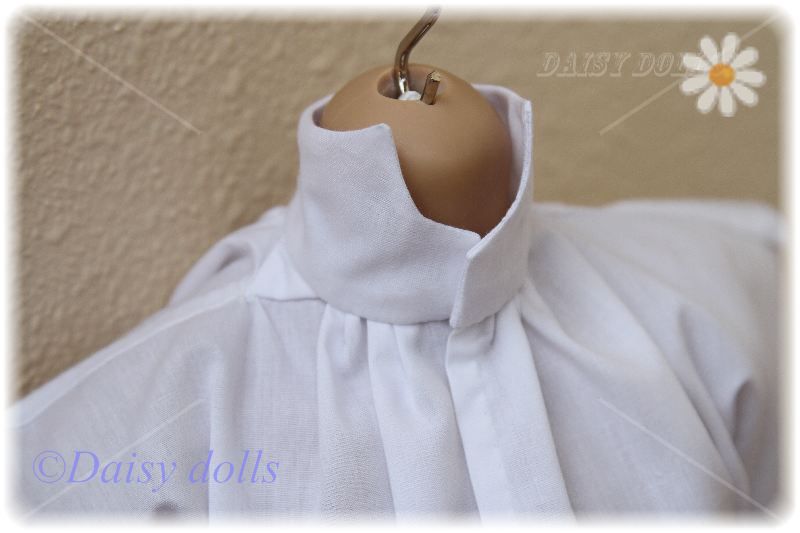
The next step was to sew in the collar. To make sure it fitted at the front, I sewed both sides of it starting from the front and finishing the back part last. Then I tucked in the inner part of the collar and stitched it all around.
And that’s how it looks on the doll.
A more detailed process is shown in the gallery below. Next I will be sewing in the sleeves and finishing the side seams.





Оля, это потрясающе!
Так профессионально, красиво и исторично!
Инна, спасибо большое! Я сама радуюсь тому, что получается. Сегодня вшила второй рукав – осталось всего ничего!!
Лара, спасибо большое! Я стараюсь! Этот проект увлек меня с головой!
Оля, спасибо за показ! Очень интересно. Воротник получился очень аккуратный, и “как настоящий”! Радуюсь тому, что собирается уже почти целая рубашка!
Who would think that such simple shapes can become a beautiful shirt! Very fun and educating!
Лена, спасибо большое!
Sviatlana, thanks a lot!
Здорово, Оленька, что мы можем это увидеть вживую!!!