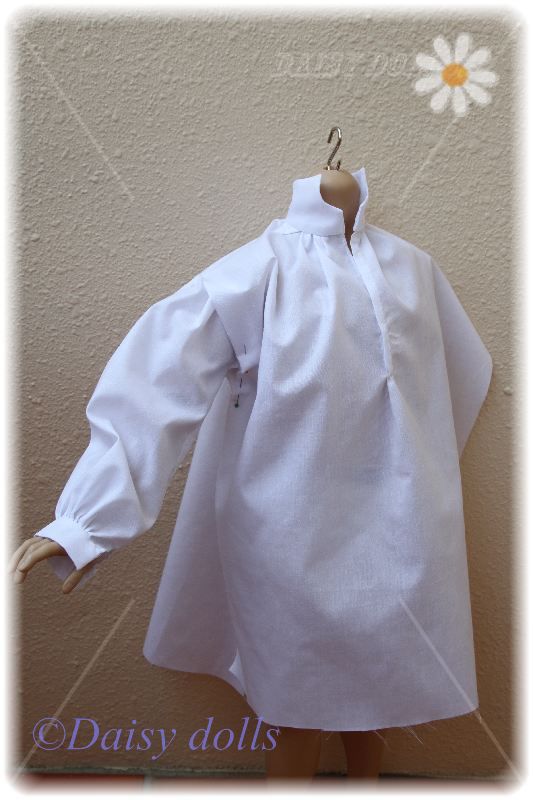
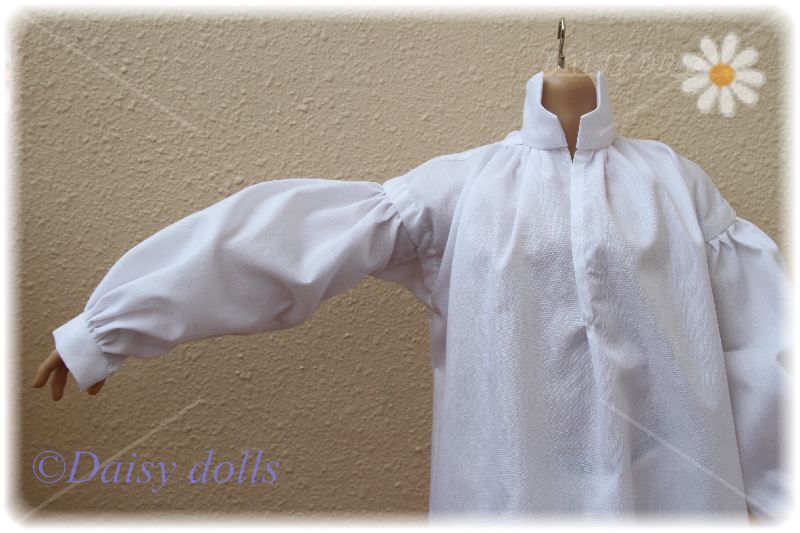
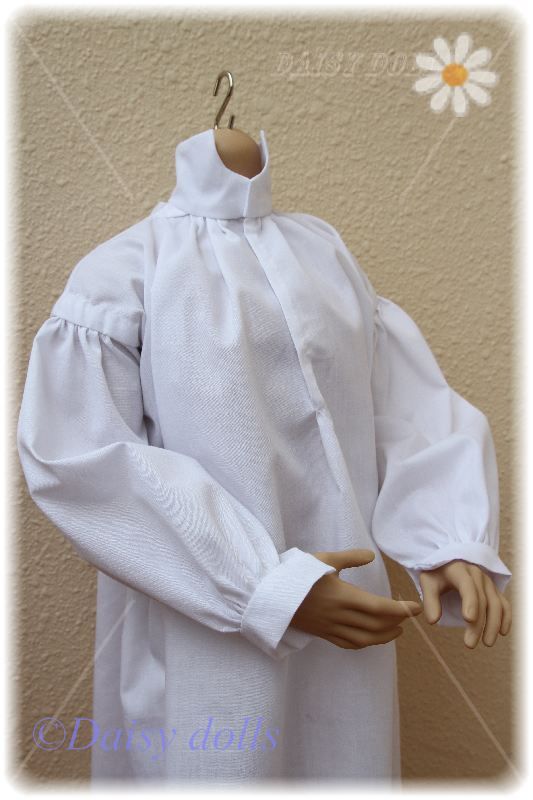
So, let’s continue with Rochester’s shirt! I have finished sewing in the sleeves and am very pleased with the result.
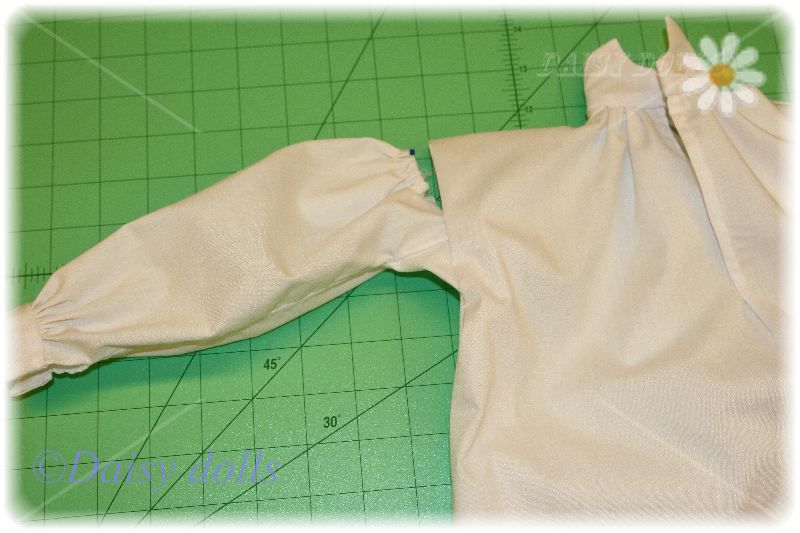
First, I put the shirt on the doll and pinned one sleeve to it to mark a place where I would put the gusset.
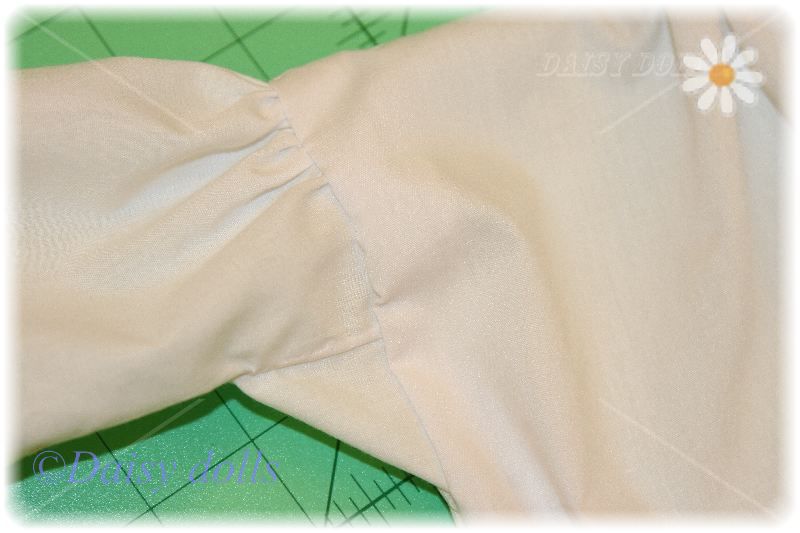
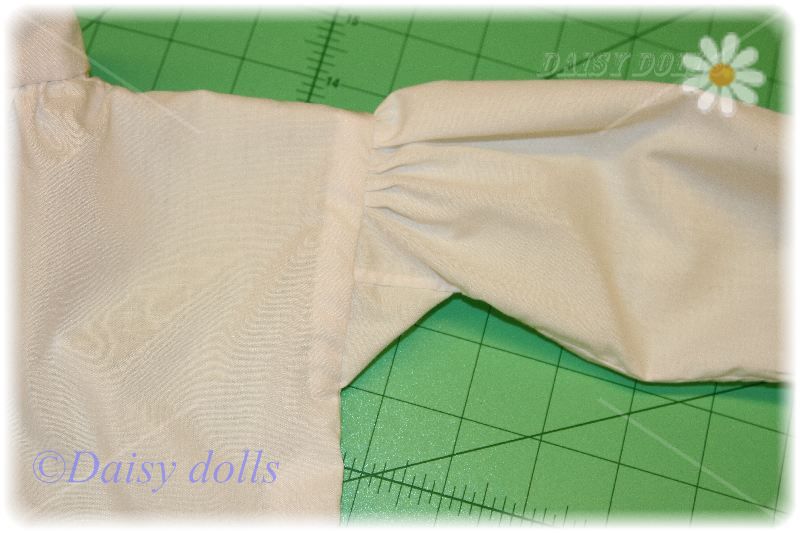
Then I sewed in the gusset of the sleeve to the sides of the shirt. (By the way, I always have large seam allowances, that’s the way I like it because seams do fray a lot during sewing so I prefer to let them do it and then just cut off the excess)
I gathered the sleeve to fit it in using a needle with a thread and marking the middle of the sleeve with a pin first.
Then I carefully sewed the sleeve in making sure the middle of the sleeve matched the shoulder seam.
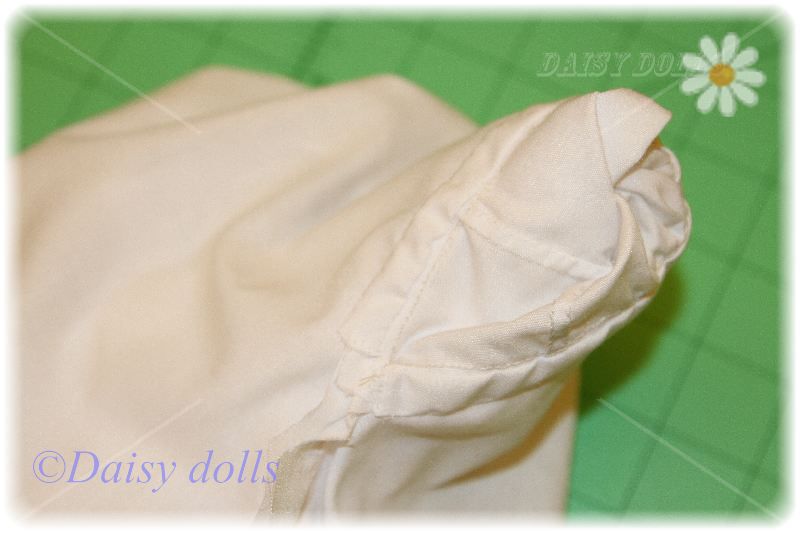
To finish the seams and to reinforce them I cut 2 long strips of the same fabric (21 cm long in my case and about 2 cm wide) and first stitched one side along the seam of the sleeve. And then tucked them in and stitched in place.
And voila!
That’s how it looks on the doll!
The process is shown in more detail in the gallery below.





Спасибо. Опыт вшивания рукава мне пригодится. Наслаждаюсь процессом создания костюма 🙂
Поздравляю! Получилась настоящая старинная рубашка! Интересно про процесс вшивания рукава. Выглядит все очень аккуратно. Мистер Рочестер должен быть доволен. 🙂
Looks great! The seams were reinforced for the sake authenticity, right? (It makes sense in the people scale). Wow, I’ve learned a lot! Never realized how much work this shirt takes. All I knew before – it was made of simple geometrical shapes.
Поздравляю!!!! Первый элемент костюма готов
Марина, спасибо! Рада, что ты нашла что-то полезное для себя!
Инна, спасибо! Не только Рочестер, но и я довольна!
Таня, спасибо!
Sviatlana, thanks a lot! Yes, the seams were reinforced purely for the sake of authenticity. Actually, I was planning simply to tuck the sleeve seams in and sew to the shirt, but with so many pleats it would have been impossible, so those reinforcements did make sense! because they also make the seams look more neat on the inside.