And the final part of making Rochester’s shirt! The only thing which I didn’t do is making button holes and sewing on buttons, but that will have to wait until I find some buttons of the right size!
First, I needed to determine the whole length of the shirt. So, I put it on the doll and pinned where I thought it should finish. Men in those times usually wore shirts down to their mid thighs or even knees. I had to make it as short as the fashion of the 19th century would allow me – otherwise it wouldn’t fit in the trousers. I also marked a place where a slit would start.
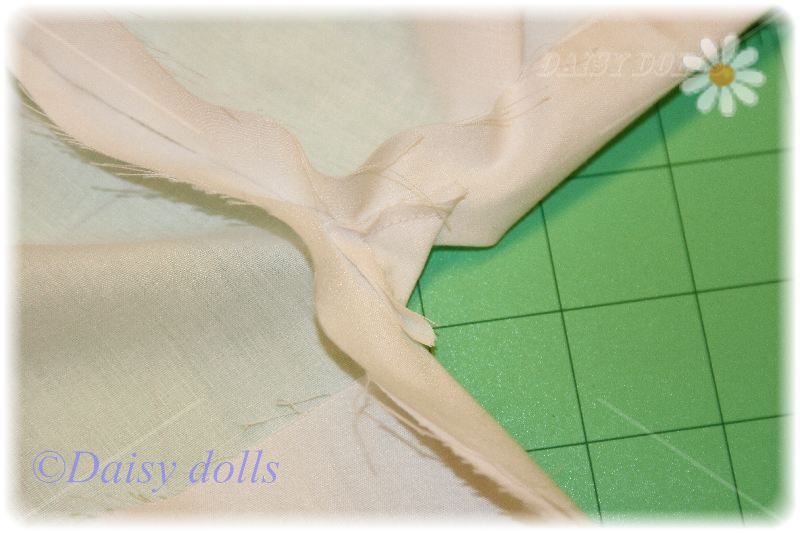
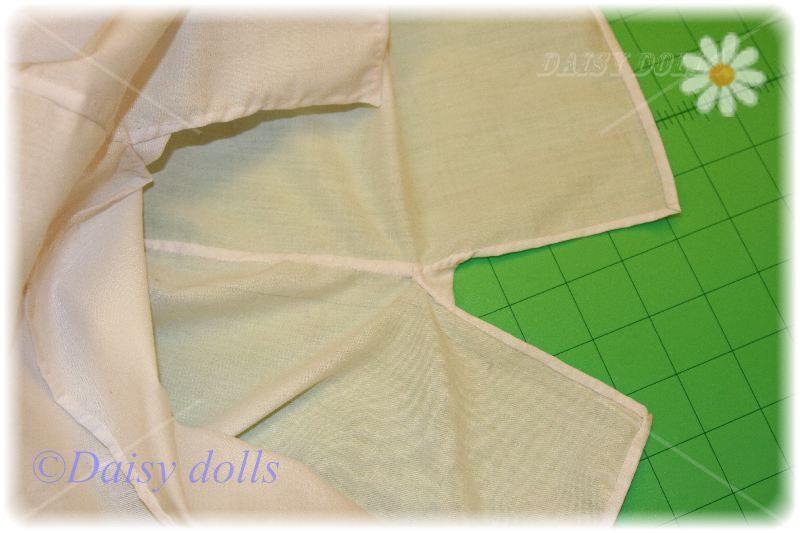
I sewed the sides of the shirt together until my pin marker. Then I sewed in a gusset in a usual way.
Then I trimmed all the excess of the fabric. For the side seam I cut one seam allowance half the width of the other – to be able to tuck it in more easily.
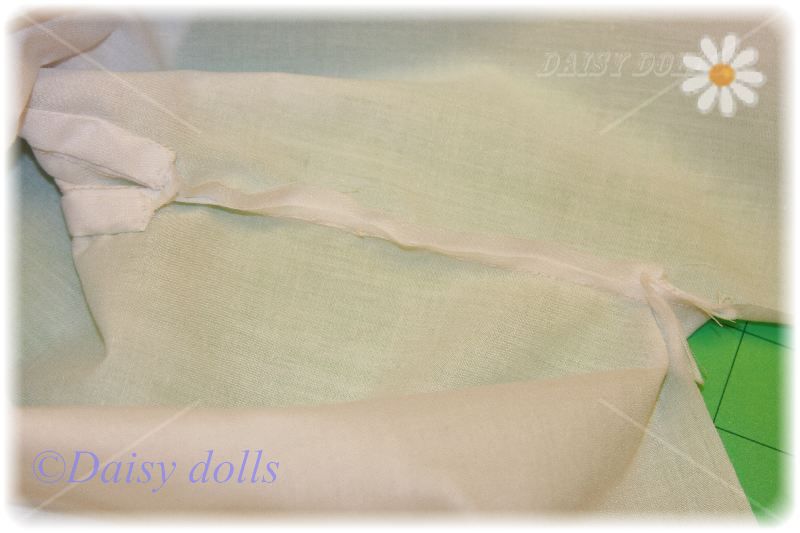
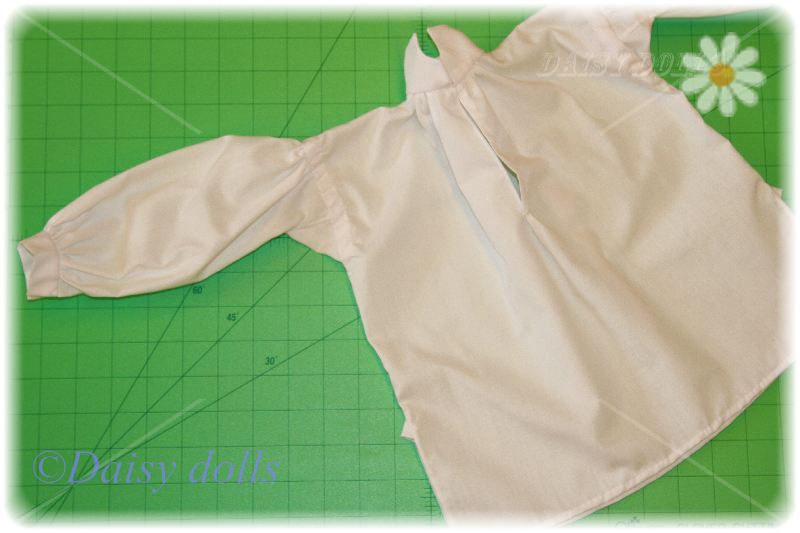
Then I closed all of the side seams.
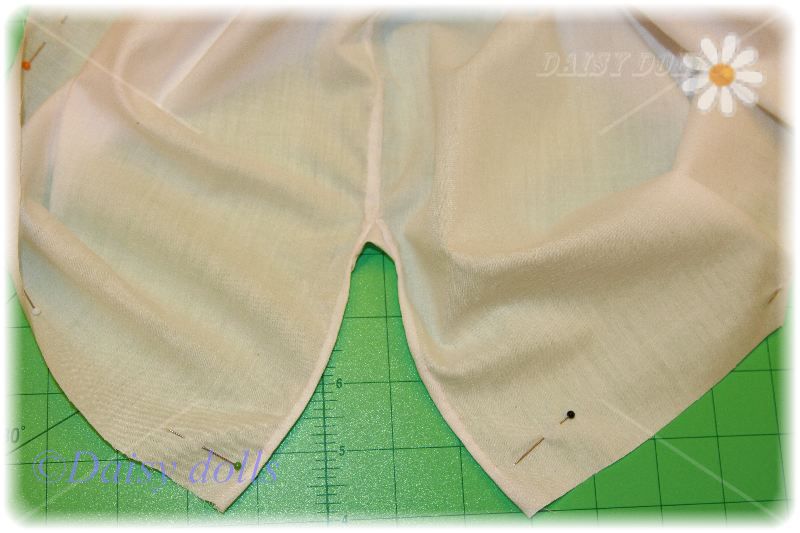
And as the last step finished the bottom hem.
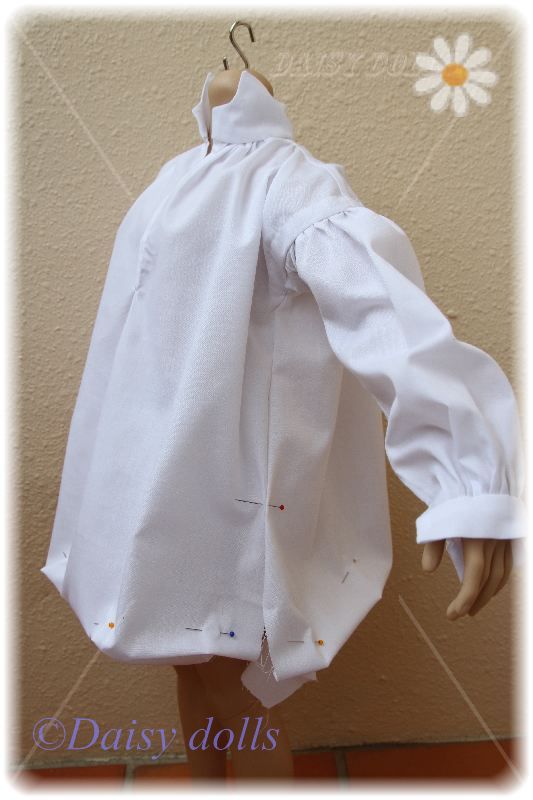
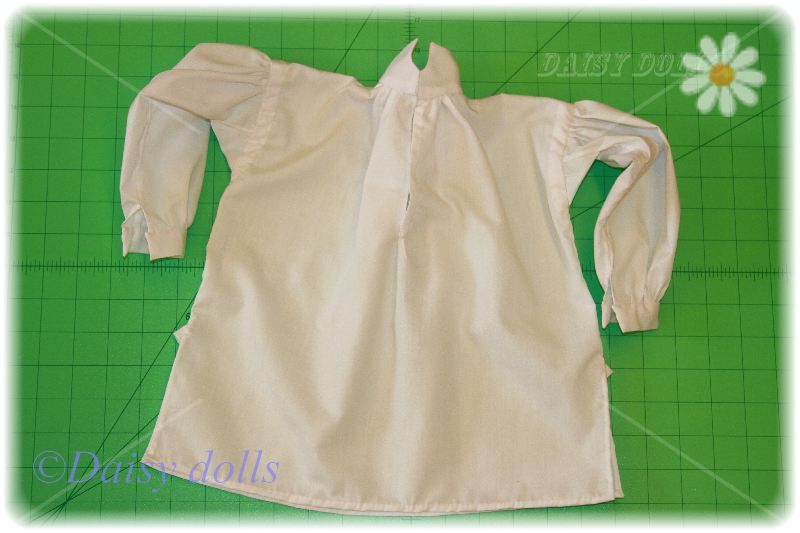
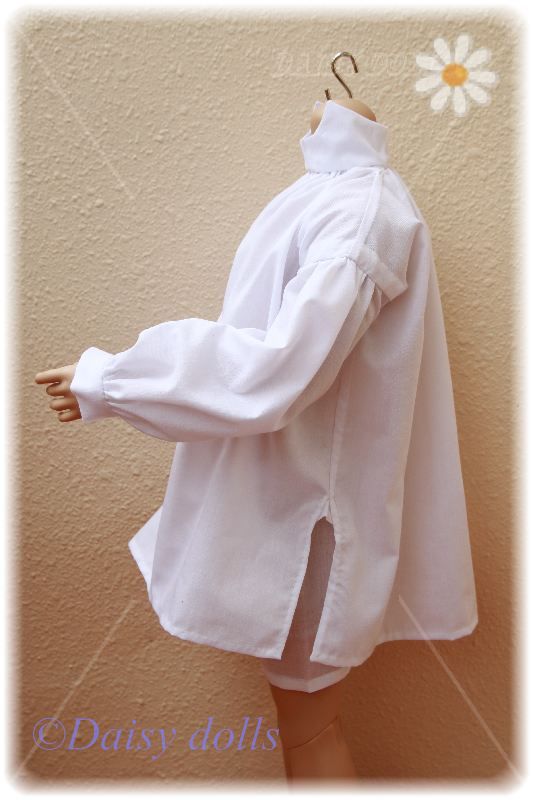
And here is the ready shirt!!
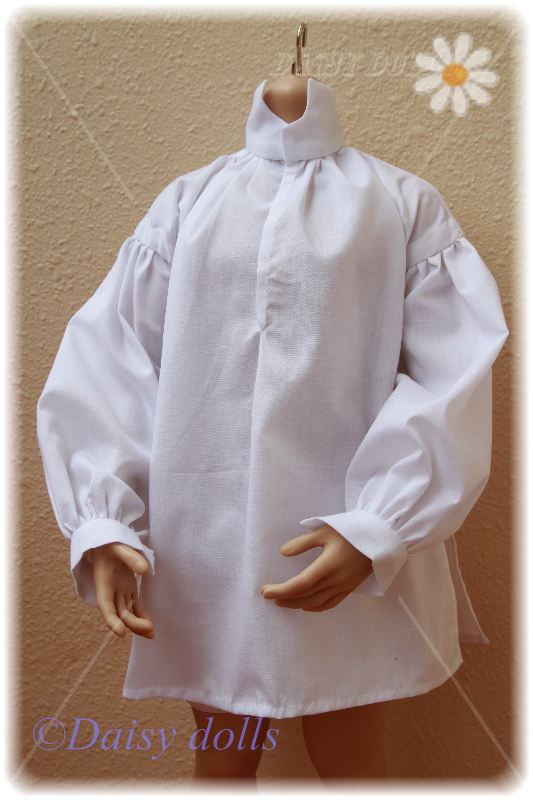
And the shirt on the doll. Now I will have lots of fun trying to tuck this shirt into tight trousers!!
As usual, a more detailed process is shown in the gallery below:


Оля, поздравляю с тем, что самое главное в пошиве рубашки уже позади!
Вот ведь, вроде бы простые линии, а смотрится так элегантно)))
It was really fun to watch the process of creation and the shirt looks beautiful and fits great!
Лара, спасибо большое! (Теперь думаю: а ведь мне еще две подобных рубашки, как минимум, надо будет шить! На Феликса-Фредерика и на Декстера-Торнтона)
Sviatlana, thanks a lot!
Поздравляю! Оля, спасибо тебе за этот фото отчет. А как правильно кроить прямоугольники для пошива одежды, там наверно одна мерочка только снимается (или я не права)?
Ира, спасибо! Ты права в том, что квадраты выкраиваются, что называется, на глазок! Просто делай замеры с помощью обычного гибкого сантиметра и прибавляй к ним на свободу несколько сантиметров. Я вот, например, считаю, что манжеты надо было еще шире сделать. Я два раза переделывала выкройку для них (увеличивая ширину). У следующей рубашки (для Торнтона) сделаю их шире. В ширину самой рубахи +/- пара-тройка сантиметров вообще разницы не имеют, если ты все равно будешь сборку делать у ворота. Вот следующую рубашку, 1850 года, я буду делать без этих складок. Соответственно буду измерять ширину от одного спущенного плеча до другого, прибавив только по 1-2 см с каждой стороны максимум.