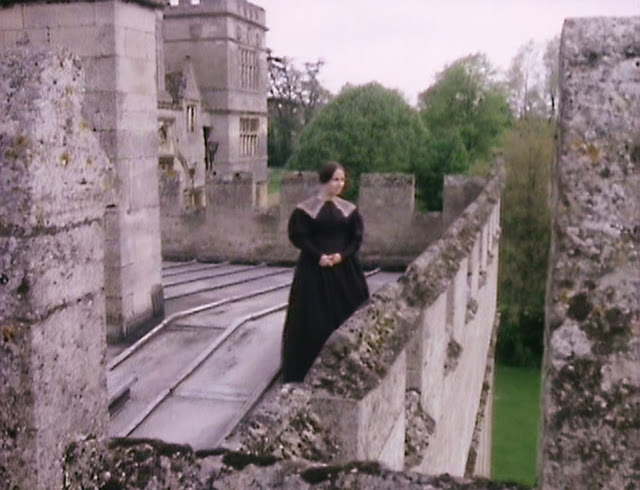
So, I am making the first dress for Jane – the black woolen one with an embroidered collar.
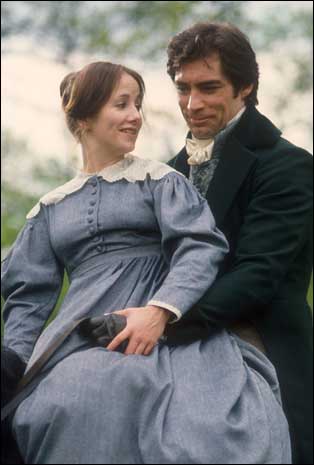
Here is another dress that Jane wore in the film. It is identical to the black one, but one can see the details better, so here it is, too (for reference).
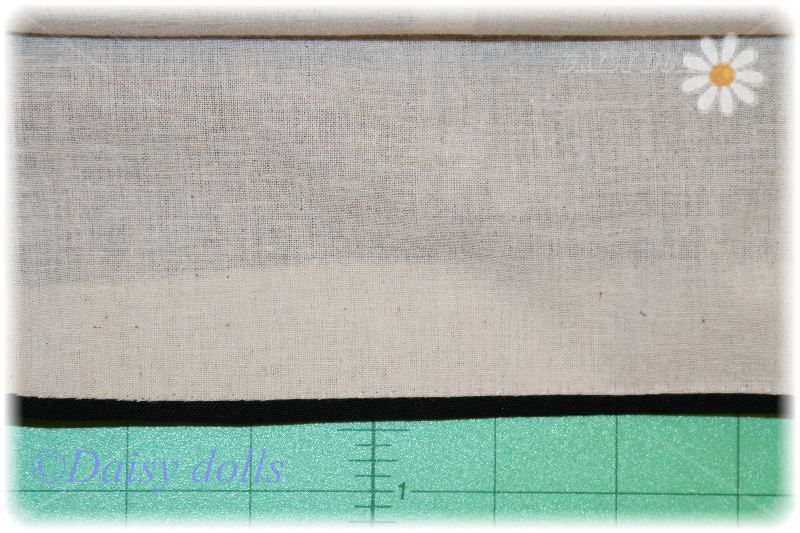
I bought black woolen fabric (it was called Wool Blend Slub Poplin, 85% Wool/15% Polyester). I wish it was 100% wool, but I am grateful that it is fairly lightweight!
I started sewing the dress by making up the skirt first. It is, of course, 100% hand-stitched.
Skirts of the period in question (1830s) were all lined with unbleached cotton, linen or some other fabric.
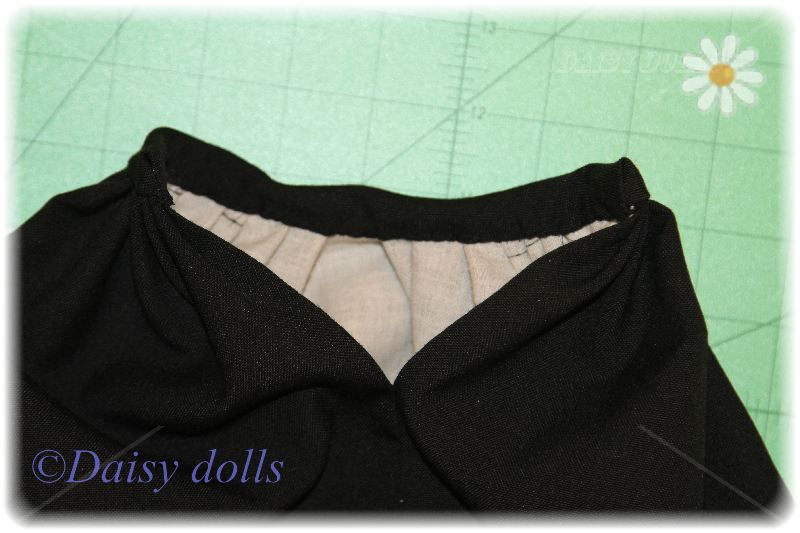
I cut out a piece of the main fabric measuring 90 cm x 45 cm and a piece of the lining (medium weight unbleached muslin) with the same measurements. First, I stitched the back seams together, leaving space for the skirt opening. Then I put the two parts (main skirt and lining) wrong sides together and stitched them together at the hem line.

And along the back opening.
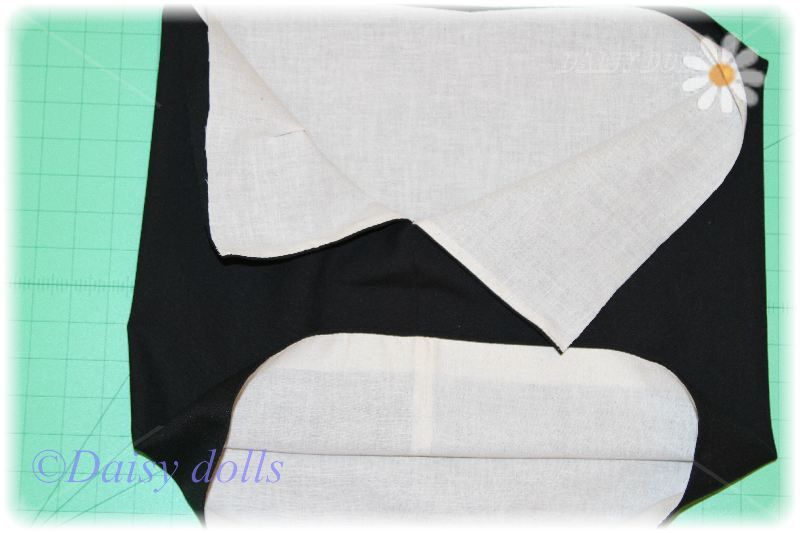
Then I stitched them together at the top. In principle, it needed to be tucked in (similar to the hem line), but I didn’t want any extra bulk at the waist, so I chose not to do it that way.
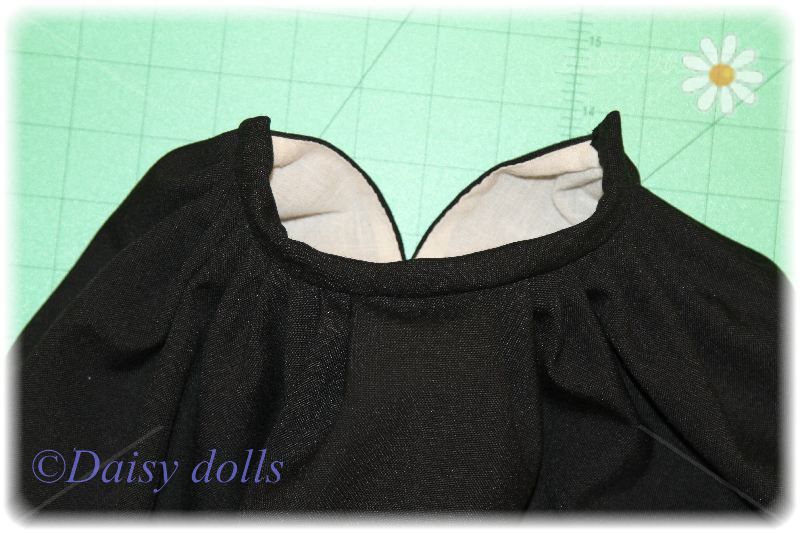
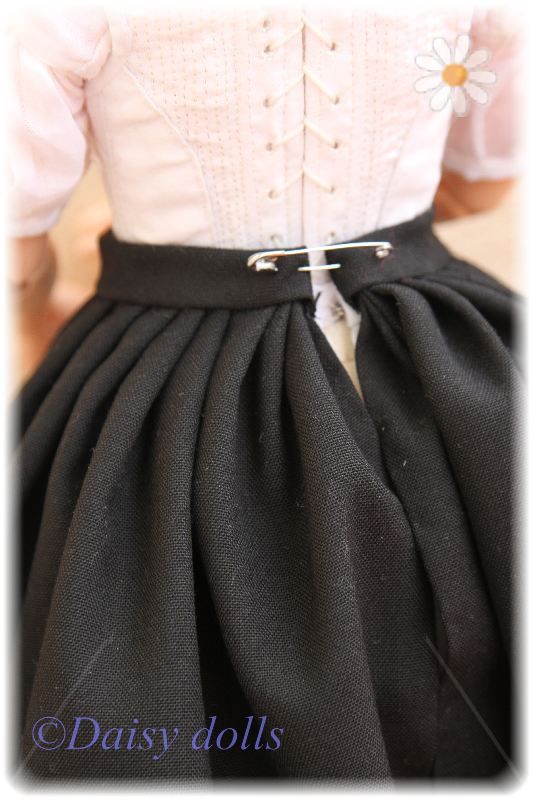
Then I took a strip of the fabric (cut on bias, although I now think it would have been easier to do it on the straight grain), marked the waist circumference (about 21 cm) and carefully stitched pleats onto it. I must say, it took me three attempts to do the pleats I am pleased with! This is the final one. There are three pleats on top of each other next to the back opening – to hide it from view when the dress is worn.

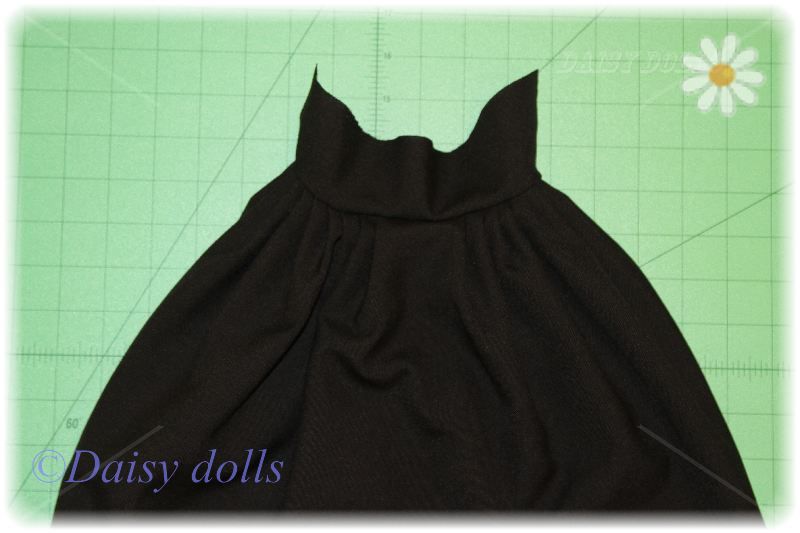
Again, the belt shouldn’t have gone over the pleats, but I decided to do it anyway, because this fabric frays a lot .
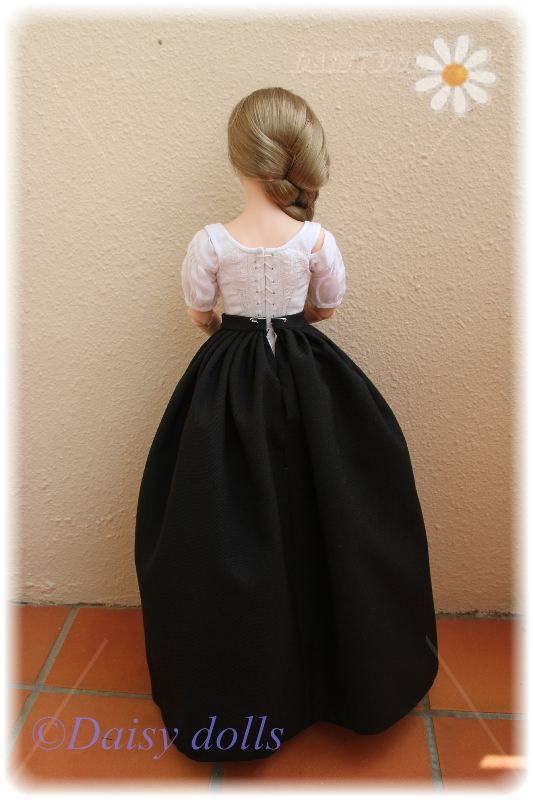
And here is the skirt on Jane.
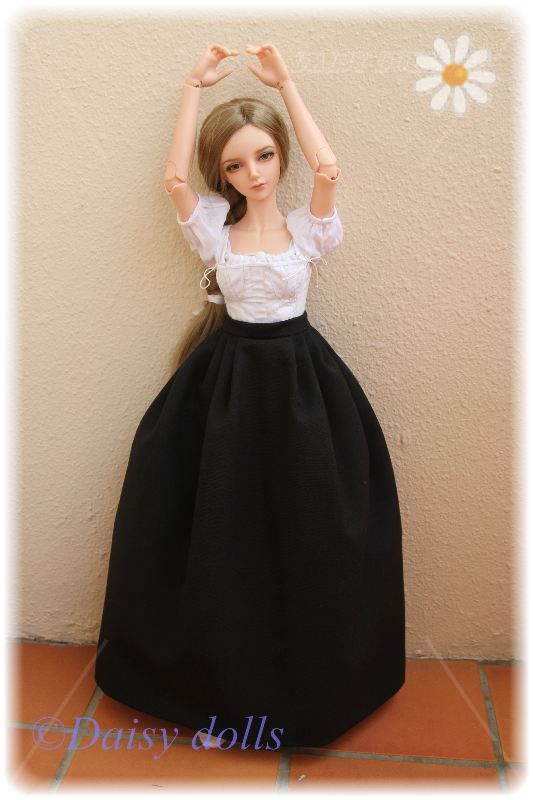


Looks fantastic! You did a great job on pleats-they are absolutly perfect!
Thank you! I will never forget these pleats! 🙂 But now I know how to make them easily! 🙂 The next dress will be a piece of cake.
Пояс по косой, как интересно. Это давало хорошее прилегание по талии.Меня всегда раздражало, что пояс прилегает не плотно, особенно, когда были в моде широкие пояса. Приму к сведению, не знала.
Оля, а платье разве не с завышенной талией?
А разве раньше не делали запАх на застежках?
Оля, ну как интересно! Быстрее иди учится в академию. Сколько мы от тебя нового узнаем 😀
Марина, спасибо! Про пояс по косой было написано в одной из моих книжек по моде того времени. Я не сама придумала. Но пришивать ее было тяжелее, чем по прямой. У платья пояс на самой талии или чуточку выше, но не сильно завышенный. Завышенная талия была у платьев 1820х годов (как у мисс Темпл, учительницы в Ловудской школе). Когда верх будет готов, пояс подтянется немного выше, я думаю. Застежка у юбки была только в поясе, а разрез, насколько я поняла по книгам, был не застегнут, просто разрез скрывали складками.
Из Академии мне ответили. До сентября 2014 у них все дистанционные курсы заполнены. Пригласили меня приехать учиться в Лондон, что меня повеселило (так просто – бросить мужа и трех детей и уехать учиться за тридевять земель!). Так что, надеюсь, через год начну заниматься.
Мне кажется, что все- таки разрез на юбке хоть и не застегивался, но был не в стык, а края заходили один на другой, запахивался. По логике должно быть так 🙂
Марин, я смотрела в своих книжках, там стык в стык и складками закрывался. Но мне тут на ДоА мысль интересную подкинули. Что в фильме не сильно аутентично. Скорее всего, в реальной жизни застежки сзади не было, а перед юбки был пристегнут к поясу крючками, а разрезы были в боковых складках (что, кстати, логично, т.к. там делали разрезы, а ПОД юбкой на талии были привязаны… карманы).
Знаешь, очень может быть. На бэйбиках продавали антикварную кукольную одежду. И она была сделана так, как ты сейчас описала. Правда это было нижнее бельё. Я себе фото сохранила.